
Every once in awhile, you get lucky as an entrepreneur and network with just the right person. I did recently by simply telling a neighbor of mine that I do calligraphy. She is an event stylist extraordinaire (see her work here), and asked if I could help her with menu designs the for a vintage-style baby shower the next day. She asked me if I could whip up a Thank You gift tag, and I told her without a doubt! I have a Silhouette Cameo and was able to make a professional quality gift tag in under 5 minutes and you can too!
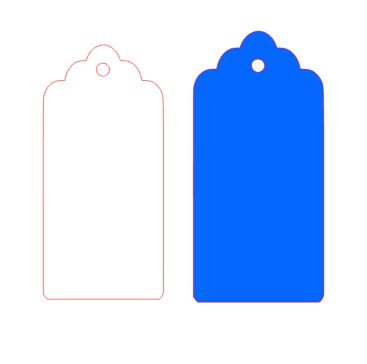 First off, I started up my Silhouette Design Software and Free Gift Tag File from Calligraphy by Danielle. The upload looks like this (I colored mine with the fill bucket tool to easily distinguish the small from the large tag). This tutorial isn’t meant to show you how to use thresholds to cut the outline, but there are many other good tutorials online that do!
I cut them with cardstock paper from Paper Source. The cut settings I use are below. Don’t forget, you can always select a shape and choose “no cut” if you’re not wanting to cut it that pass. This was helpful to me because I wanted to cut the left tag on a cream colored paper and the right tag on a teal colored paper. I was able to put the cream paper down and with the blue paper’s cut style being chosen as “No Cut,” not alter my layout at all on the simulated cutting mat.


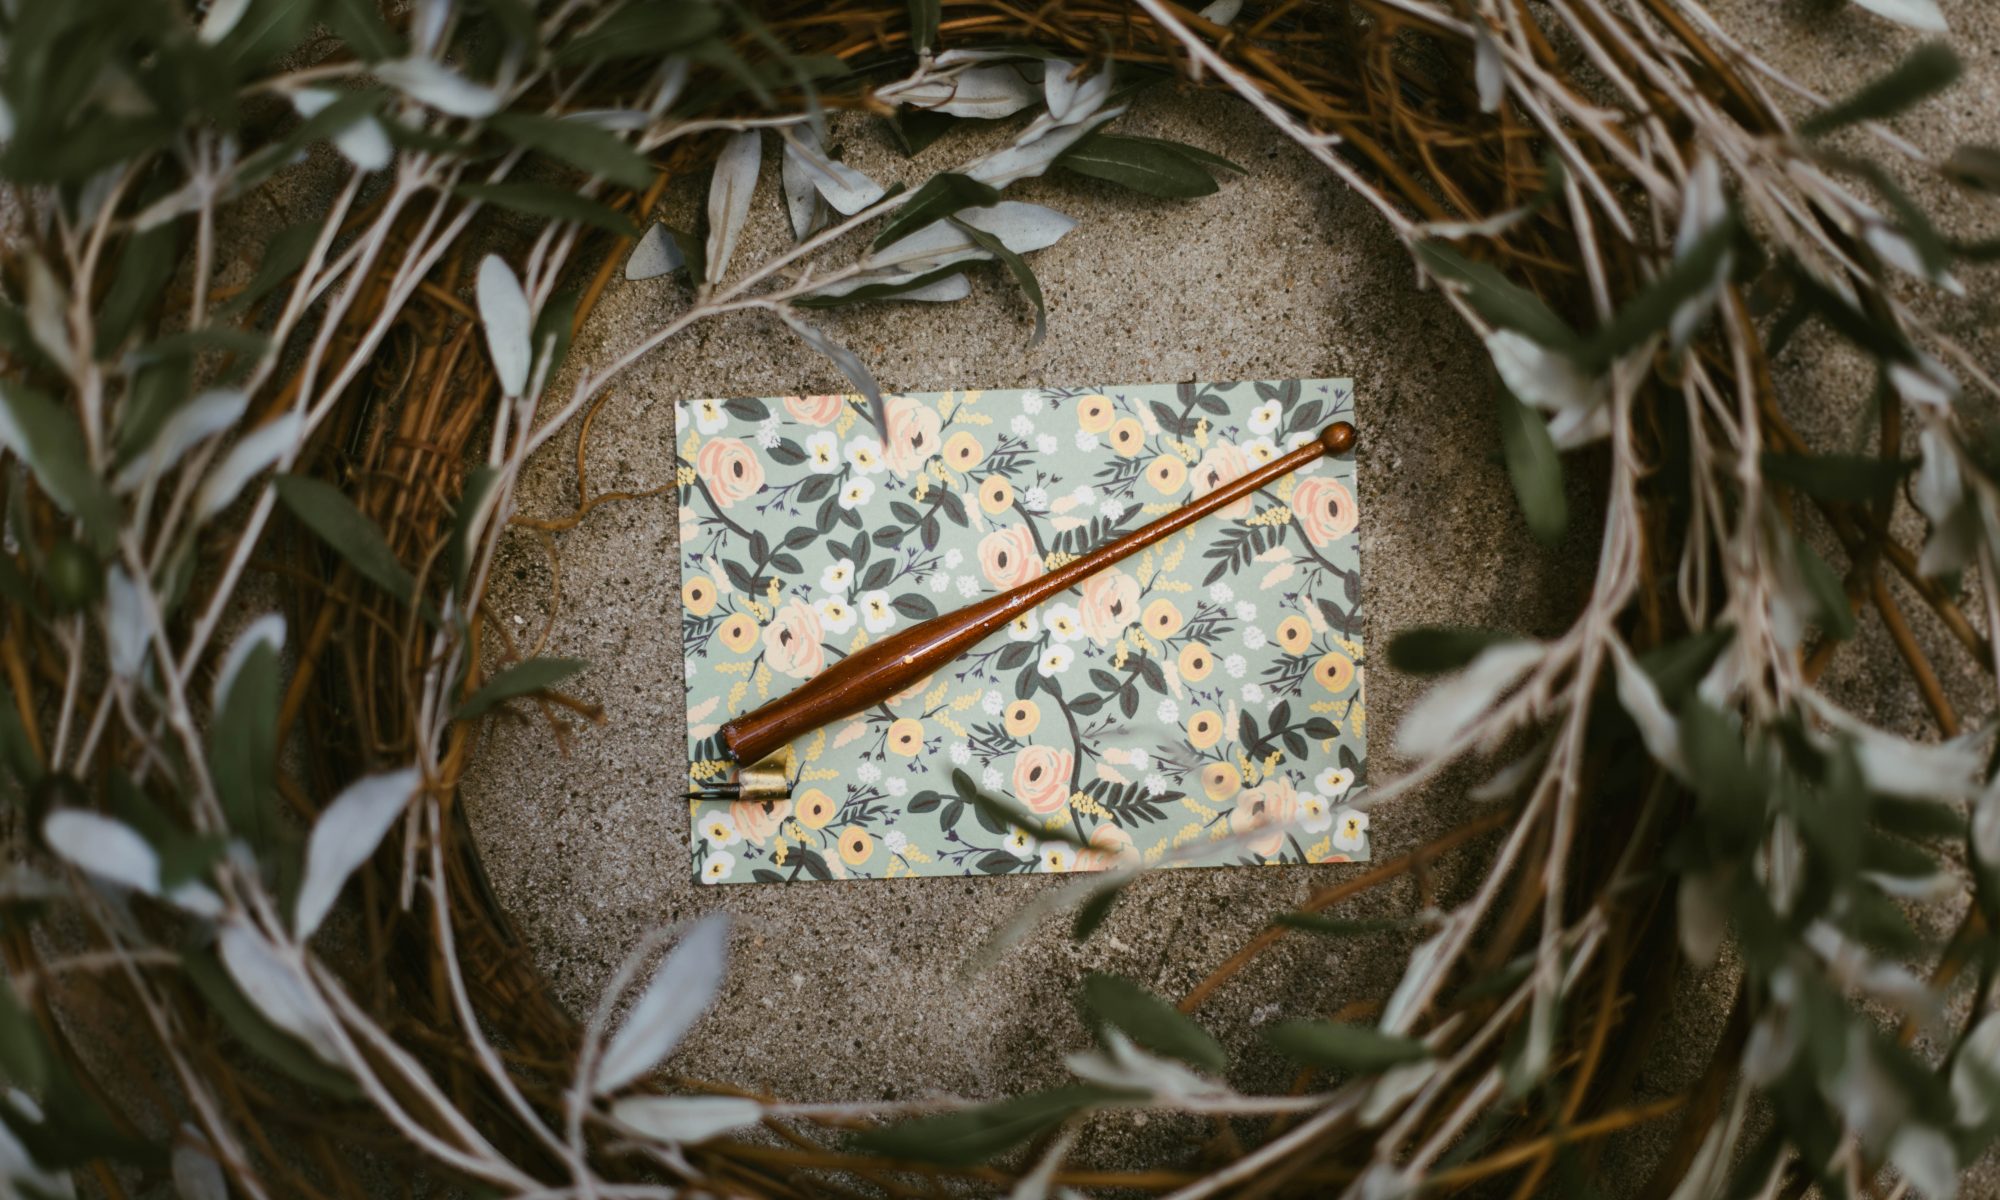
The result was this cute little “Thank You” gift tag. Feel free to scale it however you want to achieve your desired result! Let me know what you think!
 Here are some more images from the event! I also hand-wrote the dessert and lunch menus. She’s so talented, isn’t she!? 🙂


